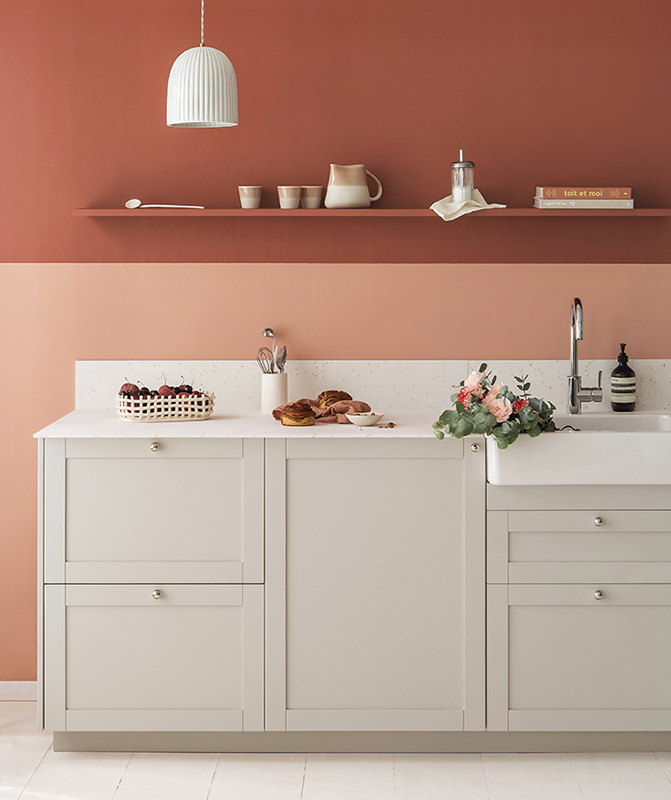
How to create a kitchen with dividers?
Leave your binders in the attic! At Plum Living, "dividers" are the cover panels slid between each Metod cabinet once the kitchen is assembled, creating a frame effect and giving a little rhythm to your layout. Our natural woods are particularly suitable for this, but we won't hold you back from letting your imagination run wild with lacquered panels. Whatever your style, here are some practical tips to help you create a kitchen with dividers...
Which cover panels to use for creating dividers?
Between the two lower cabinets, only the visible part of the divider is interesting: lighten the budget by opting for 15x240 cm cover panels. But beware, a gap will be created at the back of the cabinets. To fill this gap and keep the cabinets parallel, simply attach a medium divider in the same thickness as the visible divider (16mm, bought in a DIY shop) to the back of the cabinets.


Good to know
Designed to cover the visible sides of your columns, our end panels measure 62x220cm and 62x240cm. If you wish to create a gap between a column and an adjoining lower cabinet, you can move this side panel forward. A gap will appear between the back wall and the end panel, and a strip of a few centimetres will be left bare on the side of the column. To cover this strip, don't hesitate to use plaster, which you can then paint in the same colour as your wall.
In any case, don't hesitate to have your architect or contractor check over your plan and list of cover panels. Our Plum Planners are also available by phone to check that your Plum Living basket is complete. You can book an appointment with one of our Plum Planners as soon as you send a quote request or use our Plum Scanner here.
What dimensions for your dividers?
First option
Extend the dividers from the countertop to the floor: the height of the divider should then be equal to the height of the cabinet + height of the legs.
Second option
Stop the divider at the same level as the bottom of the cabinet: more practical for daily cleaning! The height of the divider should be the same as the height of the cabinet frame.


Third option
If you want to create a frame effect, you'll need to add a cover panel at the width of your cabinet under the countertop, between each vertical divider. Please note: if you have opted for the frame effect, remember to add the thickness of the horizontal panel to the height of the cabinet and the legs.
Also note: This option will require more time for installation. If you opt for option 1 or 2 above and have chosen Ushape fronts, the handle cut into the door will highlight the countertop horizontally, and thus creating this frame effect. The result is then the same as in the first photo of this article.
Fourth option
A simpler option is to place a single horizontal divider in one piece under the countertop.
Calculating the length
Once your dimensions are defined, all you have to do is calculate the total length of the dividers required in centimetres, and divide the result by 240cm to find out how many 15x240cm panels are needed.