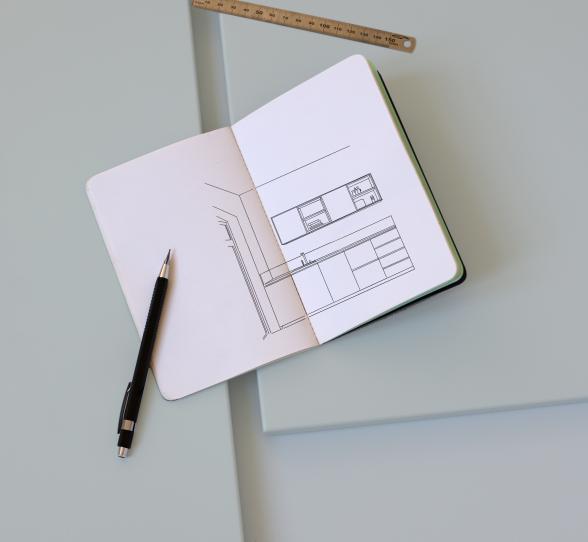
What is a cover panel?
Plum Living offers five elements designed to perfectly fit your Ikea cabinets: doors, drawer fronts, plinths, handles and cover panels. Cover panels can can make a difference in any room... But, what are they exactly? As their name suggests, they are used to cover the sides of your cabinets and can play three roles: side, filler or leg panel.
Please note!
In many cases, they will need to be cut to size by your fitter. To do so, your fitter must be equipped with a circular saw with a new blade and close-set teeth, for a clean cut.
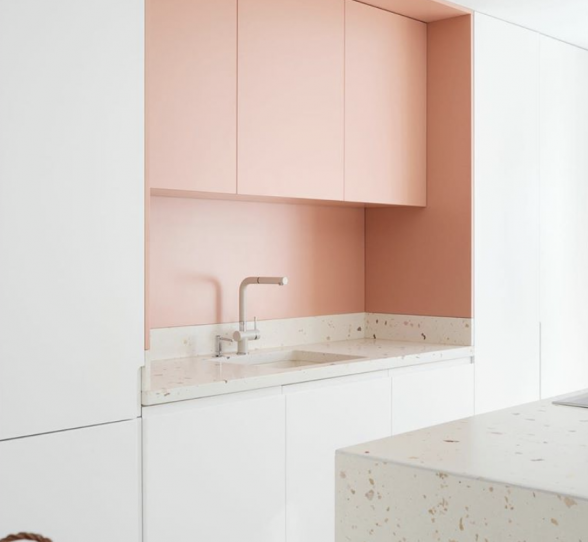
The side panel
Once your doors or drawer fronts have been installed, the sides of the Ikea cabinet frames remain visible. Although not a problem if your cabinet is very close to the wall, the final result is not as aesthetic if the side of the cabinet is visible. This is particularly the case with wall-mounted or floor-standing cabinets at the end of a row, but also for the sides of columns, the underside of wall-mounted cabinets or the sides and back of central islands. This handy cover strip can then be used to hide these visible parts of the cabinet, creating a harmonious and complete look.

How are they installed?
Side panels can be cut to size on site by your fitter. You'll then need to take the bare edge and place it towards the wall or ceiling. Only the smooth, coloured edge will be visible to the eye. Side panels are held in place by screws, which are fixed directly from the inside of the cabinet. Be careful not to use screws that are too long! You can always check out our Installation Guide: where you'll find video tutorials to guide you step by step.

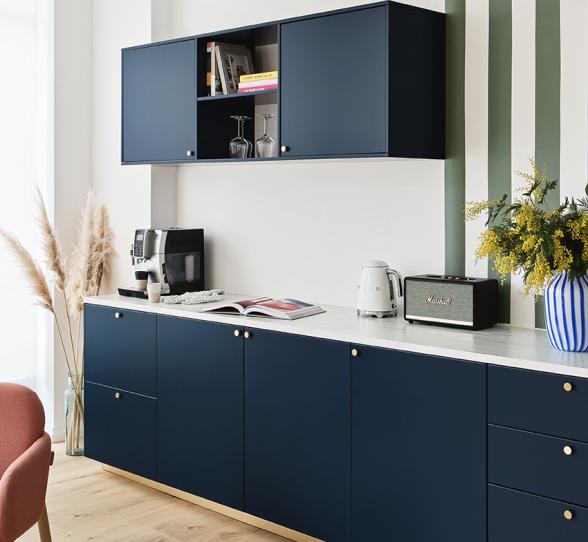
The filler panel
The Ikea planner experts know it all too well: it's not the best idea to glue cabinet frames to the wall. This could compromise the opening of your doors and drawers. Regardless of the good advice of your contractor who sees this as the perfect home for your brooms, you're not too keen on empty spaces. Rest assured, you'll only need a circular saw to cut a strip from a cover panel, creating a "filler". Used in kitchens and other layouts, this little piece comes in handy when you need to hide that gap between the cabinet and the wall. 5 cm, 10 cm, 15 cm wide... there are no set size rules. Your fitter can cut your panel to the exact size you need.
How are they installed?
Once cut to the desired height and width, the filler is inserted between the cabinet and the wall. In order to install the filler flush with the front (so that they are perfectly aligned), you'll need to create a wedge that supports the filler, which is screwed from the inside of the cabinet.
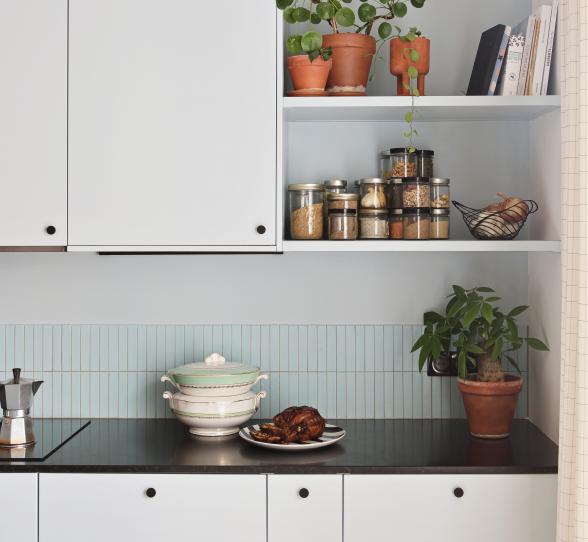
The leg panel
How are they installed?
Leg panels are installed in the same way as a standard cover panel, by screwing it from the inside of the cabinet. It descends to the floor to act as a supportive "foot" to the countertop.


How to optimise cutting?
While fillers can be cut from the middle of a cover panel, side panels require at least one uncut side. To optimise your cuts, we offer all our panels in two different depths, 62 cm (available in 80, 220 and 240 cm height) and 39 cm (available in 86, 106 and 240 cm height). They are all 16 mm thick, so they can be installed using screws. For more details on our available sizes, click here.
Our tip!
If you want to place a side panel above a high cabinet to create a frame effect, don't hesitate to use a scrap piece, even if it is only a few centimetres deep. Given its position, only the edge will be visible!