How can I create my Ikea kitchen plan without making any mistakes?
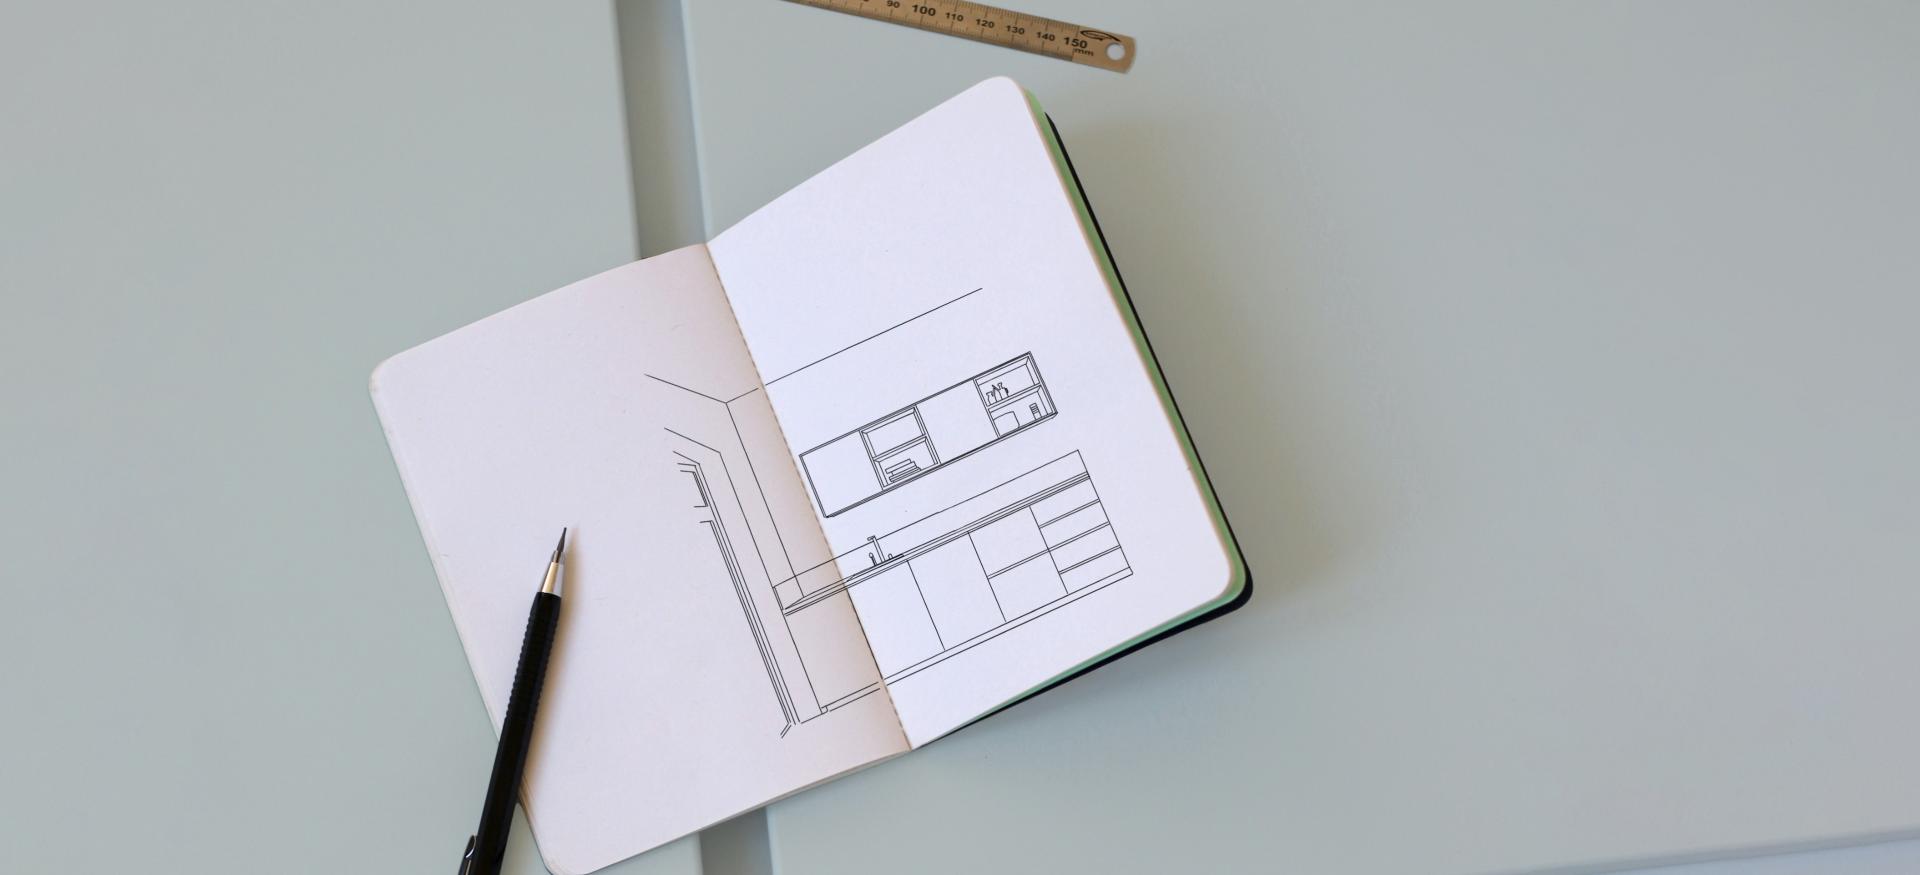
We spend so much time on it, we've even given it a little nickname: the IKP! Ikea's kitchen simulator, otherwise known as the Ikea Kitchen Planner, is even easier to use once you've memorised these trips and tricks. Read on and we'll share all our secrets ;) “If I move this section and add a 60cm cabinet frame, I’m sure I can squeeze in my sink under the corner unit and the hob in the fridge!" You’re rapidly approaching a whole day spent on the Ikea Kitchen Planner and common sense is fading fast… it’s time for a helping hand and we’ve got you covered with this practical guide designed to help you design your layout (without mistakes!)
Before you start designing your kitchen
The 9 commandments of an Ikea kitchen
It’s time to discover our top tips for bringing your design to life!
The bermuda triangle
Kitchen designers advise to select three distinct zones, otherwise known as the ‘triangle of activity’. Point A will be connected to the water supply, Point B, should be your cooking zone and point C should be for your fridge.
All black everything
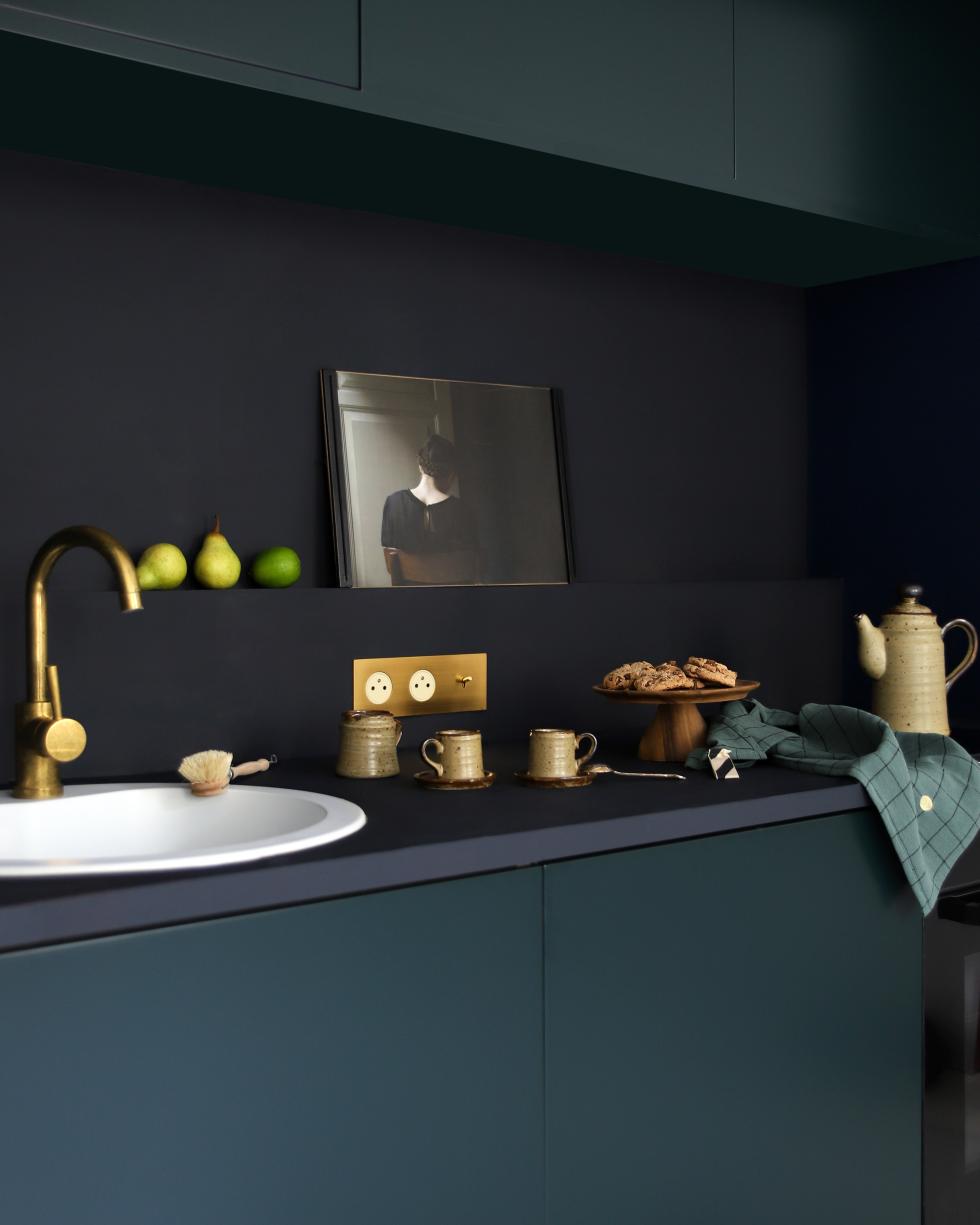
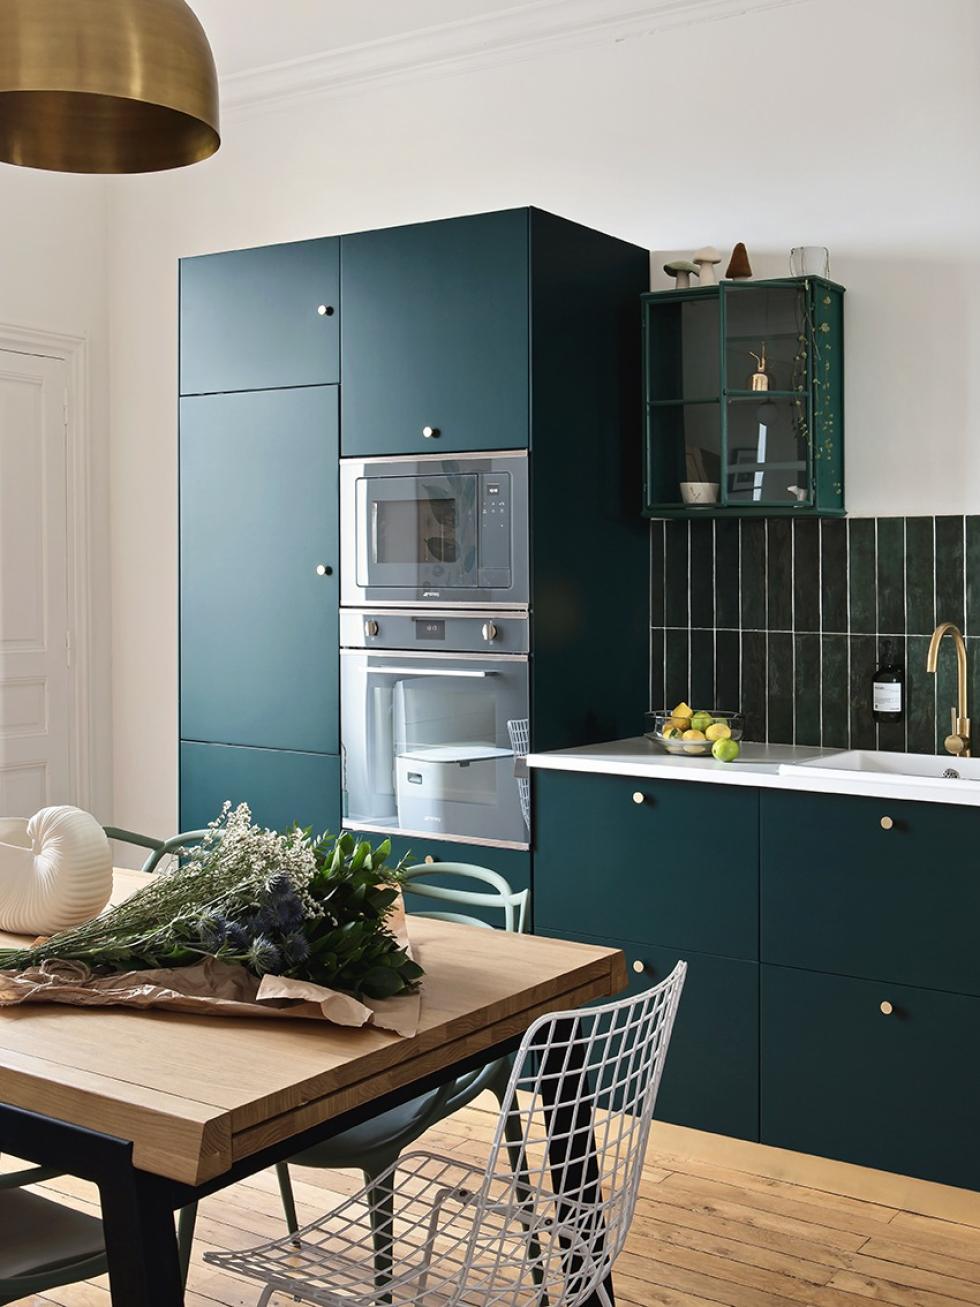
If you’re keen on dark door fronts (check out our Green 02 - Sombre forest, Grey 03 - Asphalte or Blue 02 - Bleu nuit shades!) we recommend you purchase Metod cabinet frames in black. This way, you’ll avoid any visible contrast between your dark door fronts and the inside of your cabinets. Don’t forget that you’ll need to add cover panels on all the exterior surfaces of your cabinet frames. All you need to do is remove them from your Ikea basket before checkout, and replace with cover panels from Plum Living.

It’s all a question of proportions
Sure, it’s beautiful but don’t get excited about that sink just yet! Ikea planners recommend to start building your kitchen design with the columns, before getting started on the lower cabinets. Good to know: the 100cm models need to have at least 2m50 ceiling height. The corner units are best for rooms with perfectly straight walls. Not always the case if you’re lucky enough to live in a period property…
Open it up
We know you want everything to fit in 6 square meters but it’s just not practical to do the washing up with one hand and flip crêpes in the other! Even worse, opening one cupboard door and finding yourself trapped between the wall and another cabinet! In order to ensure easy movement around your kitchen, you’ll need at least 90cm of space between two worktops. Don’t forget to leave at least 5cm between your kitchen units and vertical walls also. That way, you’re sure to leave yourself a margin in case of any measurement mistakes or in case your walls aren’t so straight after all… Your kitchen fitter or builder will fill these little spaces with what’s called a ‘filler’ (if you’ve never heard of these, check out our article about cover panels, which will get your kitchen vocabulary up to scratch in no time)
Admit it: playing around with the Ikea Kitchen Planner had reawoken your childhood passion for Tetris! To level up, the Swedish giant has added a function which alerts you, if ever your design strays into the realm of the impossible. Don’t ignore all of them! We recommend following the recommendations, most importantly when it comes to your hob. Avoid positioning them next to a wall and aim to keep at least a few centimeters on each side in order to place cooking utensils and ingredients. News flash it might not be, but remember that electricity and water are best kept apart. As well as being dangerous, organising your kitchen like this is likely to weaken your countertop as multiple joints will be necessary.
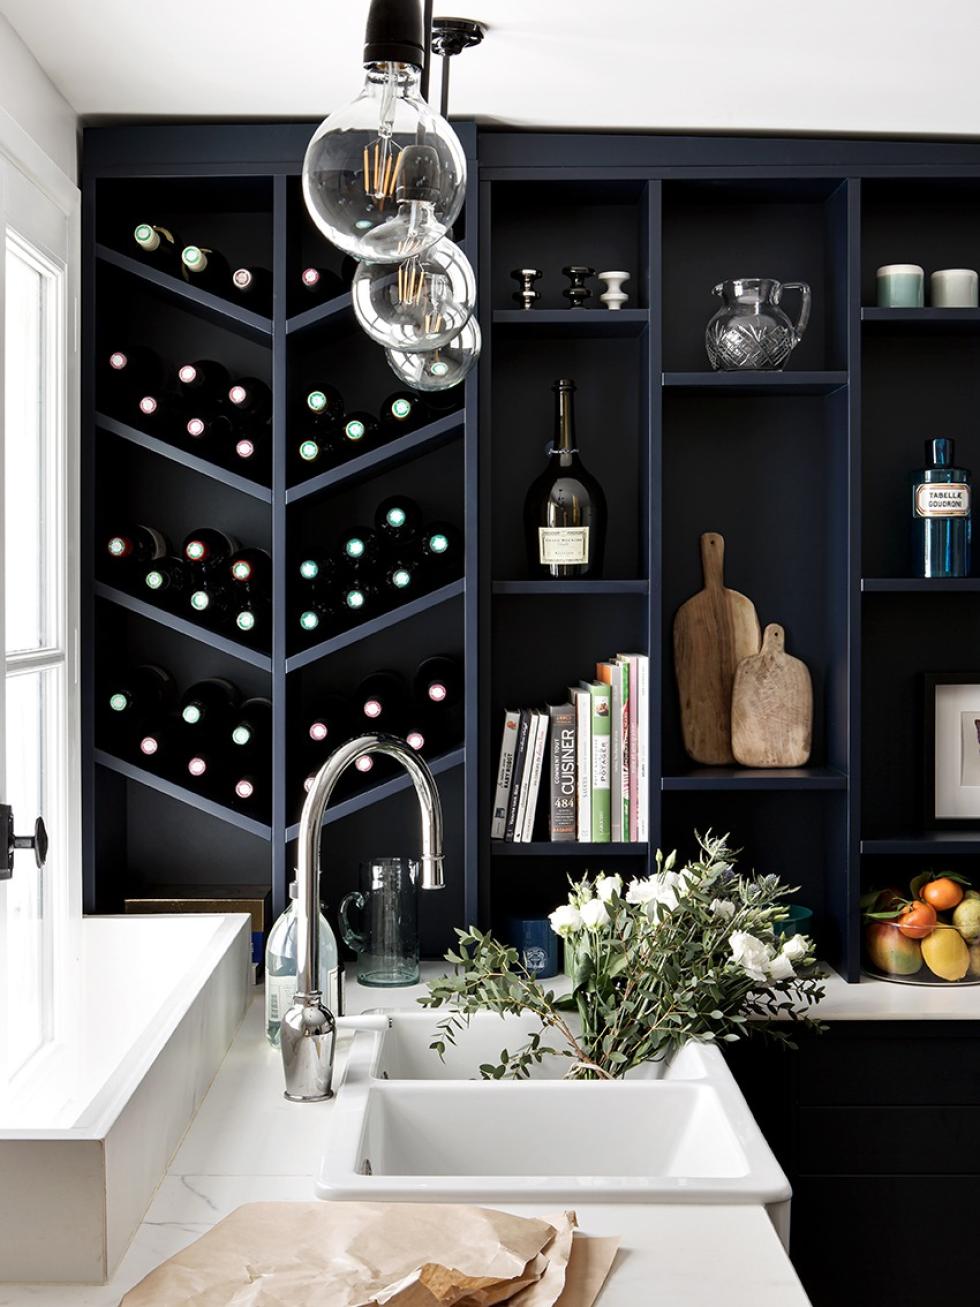
With its double bowls, vintage allure and rustic ceramic, a HAVSEN farmhouse-style sink is a firm favourite. Only drawback, it weighs a ton! Position this sink so that it’s supported by two cabinet frames, and doesn’t find itself isolated on the far end of a countertop.
Think tall
Dreaming of an island
Ah that blissful Sunday morning moment, bare feet on the heated floor, the smell of pancakes gently wafting from the pan on the kitchen island…got you dreaming yet? Don’t get too carried away: although ‘floating’ islands can be incorporated into almost any kitchen, those which fix to the floor are not actually compatible with underfloor heating.
Almost there
You can’t quite believe it, not only have you managed to fit in all your white goods after all, but the triangle of activity has also found its way into your plan! Good job! Be careful however if your washing machine or dishwasher find themselves right at the end of a row of cabinets. You’ll need to incorporate an extra cover panel, which runs from the floor to the countertop (called a ‘leg panel’) in order to support the weight of your counter if it’s particularly heavy - a stone version for example.
Good to know
- When you add a cover panel to a column, ensure that it entirely covers from top to bottom the space between your upper and lower cabinets.
- Fillers and panels are not automatically added in the Ikea Kitchen Planner, or the Plum Scanner. Don’t forget to add them to your Plum Living order!
- You can integrate lights under your upper cabinets. For a high end finish, you can adapt a cover panel, and insert your lights or light strip.

- Don’t forget, if you use the Ikea Kitchen Planner and you delete all the door fronts before ordering, the programme will automatically delete the hinges too (however not the drawer rails!).
- The same goes for Metod legs: if you remove your plinths the configurator will automatically remove your Metod legs. Don’t forget to add them back to your Ikea basket before placing your order.
To go even further...
Once your plan has been drawn up, there are still many questions to be answered: which worktop to choose? Which handles to choose? How can you personalise your kitchen? We have summarised all our advice in an article published at Westwing!
